|
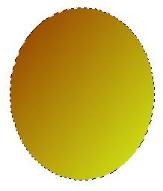
Using path tool create a 2d ellipse using a diagonal gradient with
dark rust and a yellow/green for the colors. |
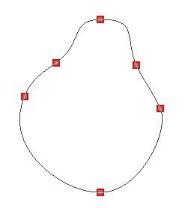  |
Edit the path by adding a point on both sides about midway between
the center and top points. Use the handles and move the points until you have a pear
shape. Toggle back and forth until you have a shape you like. |

|
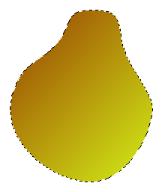
Convert object type from path to image. Use the burn tool to shade
the left edge of the pear and to shade in a curve for the shoulder to give it definition.
Continue shading around the rest of the pear, not as heavy on the right side. |

|
Use the smudge tool, bristle smear or water drop brush to blend
the dark and light colors together. If needed, use the blur tool to smooth out the colors
better. Using a basic brush set at about 7, paint in an "m" for the stem. You
can blur it out a little too. I left this unblurred so you can see the basic shape to
paint. |
|
Use the basic brush set at about 15 and no soft edge. Set the
color on the brush panel to the multi-color mode with the top setting at 10 or so. In
paint as object mode, paint a stem for your pear. Using black brush set at about 4, paint
on edges. Use the smudge tool to blend the colors together and burn it if you need to.
Select both the pear and the stem and merge as a single item. |

|
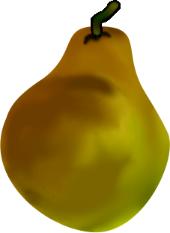
Here is another finished pear using different colorations and
blending. You can add a leaf to the stem if you desire. |